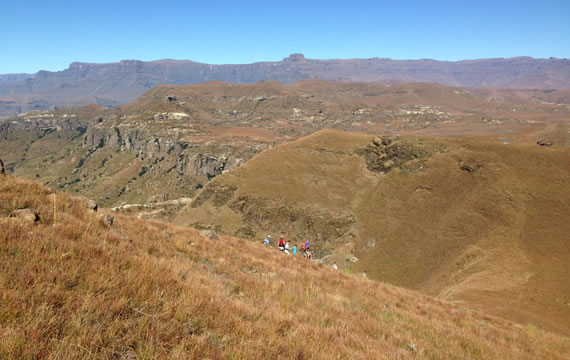
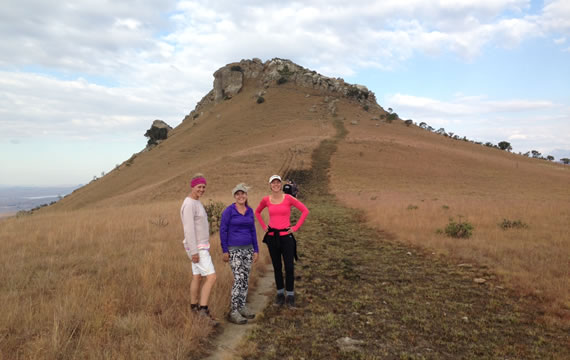
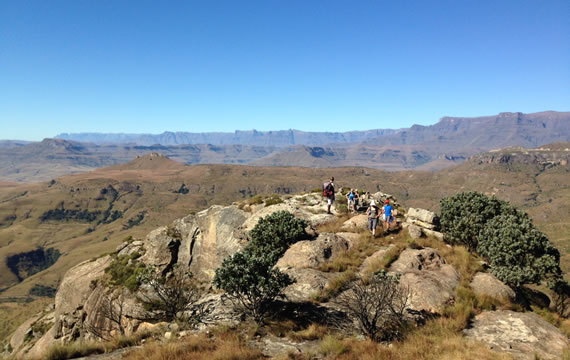
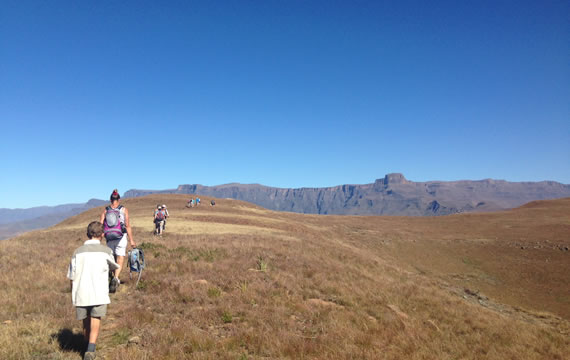
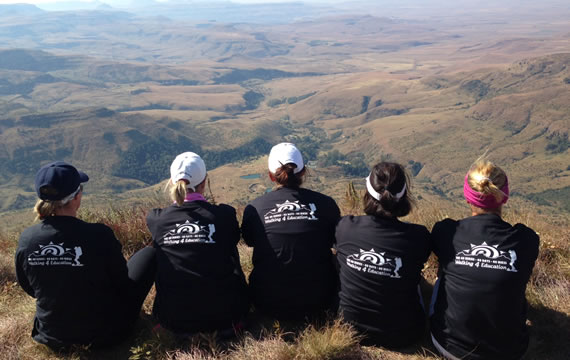
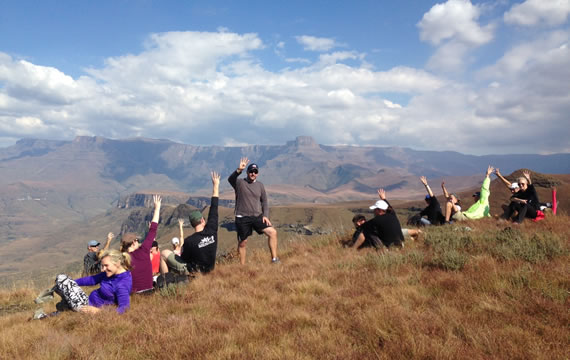
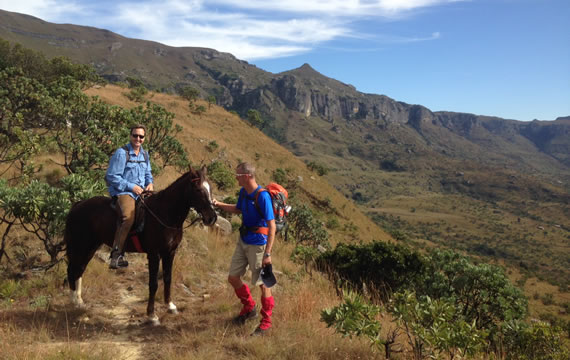
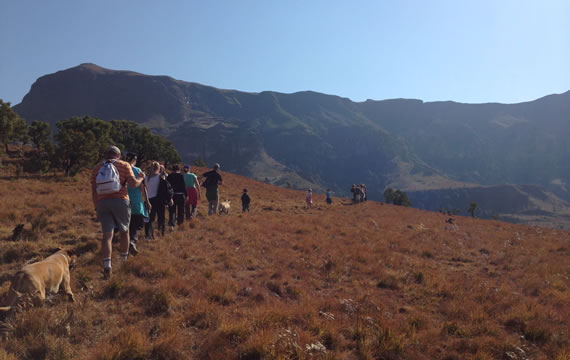
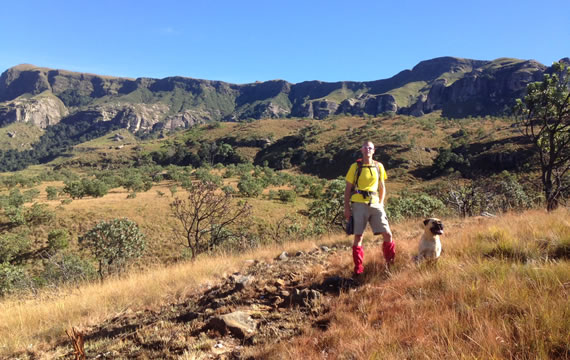
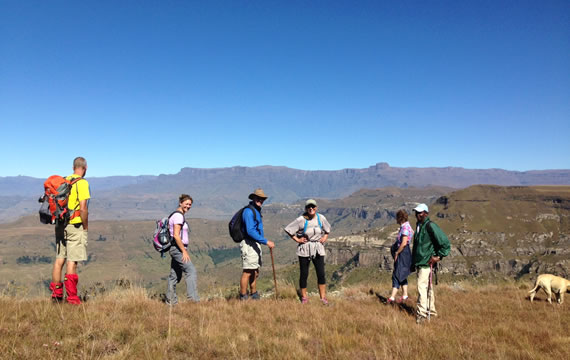
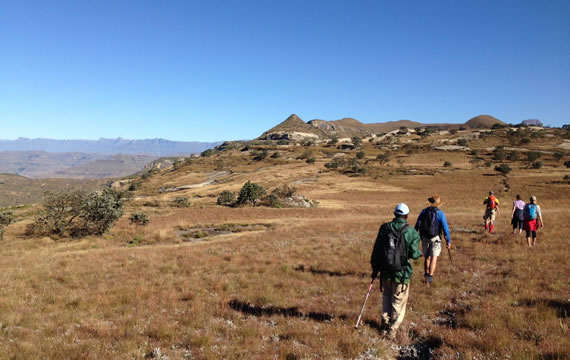
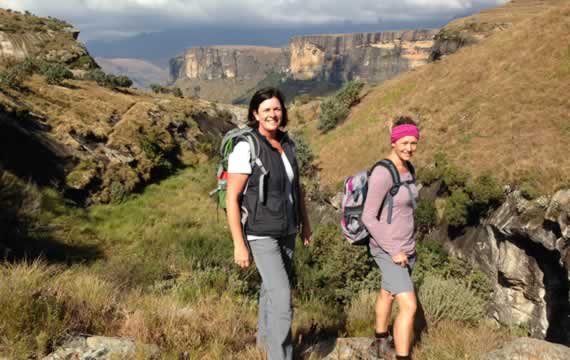
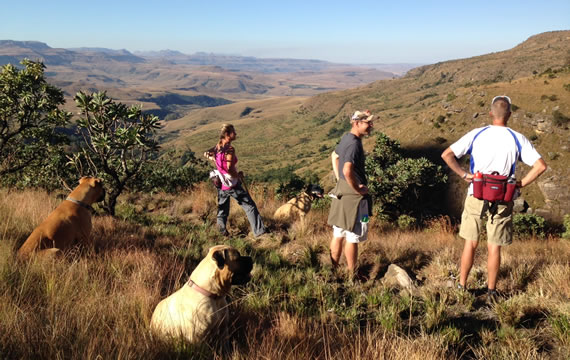
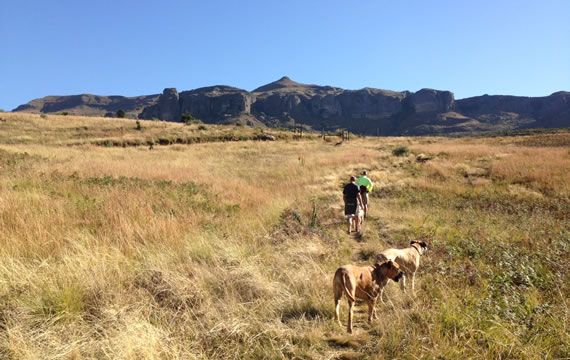
Having recently completed our 40-day hiking challenge, 40 days – 40 hikes – Walking 4 Education, we are reminded of what these valleys and hills have to offer – it is the great outdoors and this is the trekking capital of SA. A great network of paths exist within a series of pristine valleys through forests and grasslands where fantastic views abound.
April – May – June are the best months for hiking.
Walking in Great Outdoors – Package 1
Spend 5 days & sleep 4 nights in the Great Outdoors
This package includes all accommodation, meals (including packed lunches) and teas.
A guide will be provided for all hikes.
Spa treatment – as mentioned – is included.
Day 1
Arrive for lunch 12h30 – 14h00
Afternoon walk – Lone Rock to view Bushman Paintings
GRADE: E
TIME: 2 1/2 hours.
DISTANCE: 4 km.
TERRAIN: Undulating path with moderate slopes. Only done with a hotel guide as it is easy to miss the paintings.
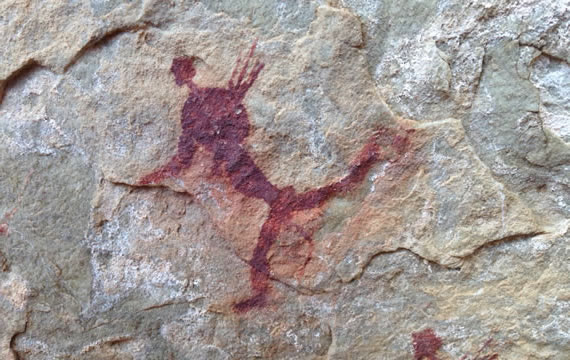
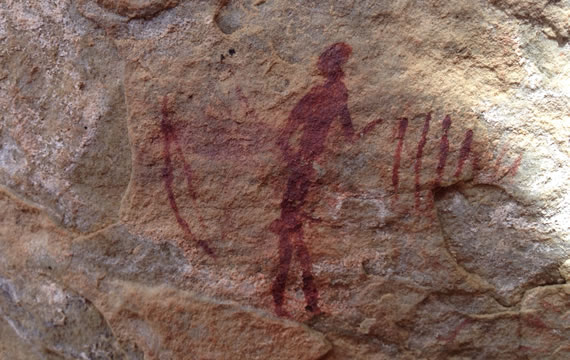
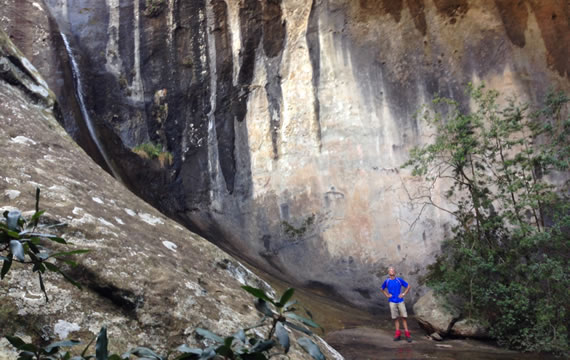
The Bushman paintings are the most accessible in the Drakensberg, and are the main focus of this walk. Take the back route out of The Cavern, past the football field and dams, continuing up the Sugar Loaf path. Avoid the turn-off to the aerial. Go straight towards the escarpment past the first small plateau. Watch on the left for a huge flat “white” rock. Align this rock with another big “white” rock about 400 m away to the left and slightly higher. You will then see an “orange” rock, slightly above the second white rock. This is Lone Rock. This orange rock is just above the level of the large second plateau. Now follow the path until reaching a gate on the left. Go through the gate and this path takes you to the paintings on the north side of the orange rock. These paintings are deteriorating with age; please do not touch them, nor splash them with water.
Overnight: The Cavern
Day 2
Full Day – The Cavern’s Big 5
GRADE: B
TIME: 8 hours.
DISTANCE: 18 km.
TERRAIN: Very steep at times and only done with a hotel guide. Need a head for heights as there are short climbs over boulders and the descent to Cannibal Cave is very steep.
This hike takes you up Hlolela (500 m and an approximately two-hour climb to 2127 m) via Scilla Gully, and then on to the Bridge of the Battleship. From Battleship hike down towards Venus’ Bath for tea, and then on to the top of Sugar Loaf. Then hike to the top of Cold Hill. Descend from Cold Hill via the Devil’s Staircase and Cavern Gap to Cannibal Cavern for lunch. After lunch, hike along Surprise Ridge to Camel’s Hump and then home. There are escape routes back home at several points along the route. This hike offers exceptional expansive views.
Overnight: The Cavern
Day 3
Full Day – The Royal Natal National Park Grotto
GRADE: C+
TIME: 8 hours.
DISTANCE: 20 km return.
TERRAIN: Very steep at times, and only done with a hotel guide because the paths are not well marked on the escarpment.
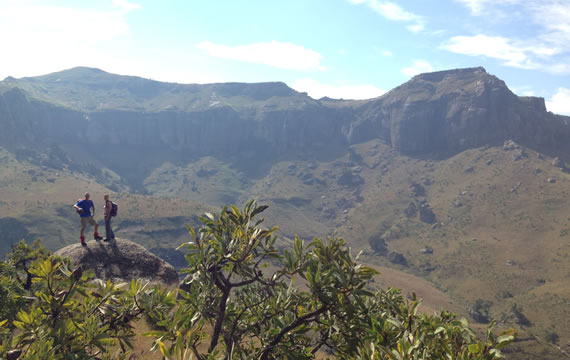
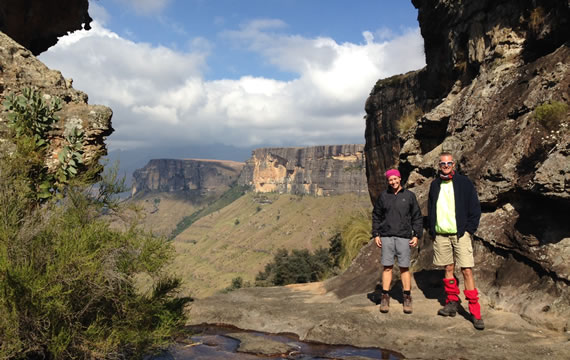
Hike from the Top Gate to the left past Cowslip Falls Dam. Head up towards Surprise Ridge. After crossing the stream at Pascoe’s Pool head along a short contour and then climb the 2 ridges before summiting Surprise Ridge. From the top of Surprise Ridge, enjoy views of the Amphitheatre. Go over the Ridge and head down for a short distance to go into the Royal Natal National Park.

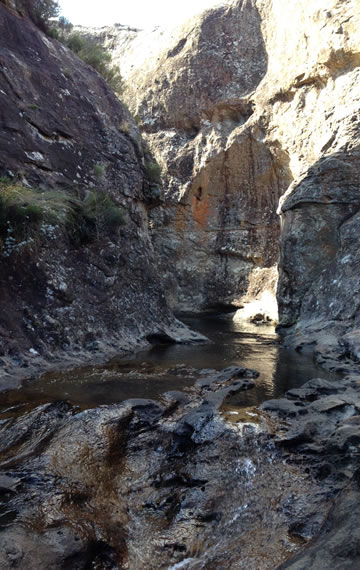
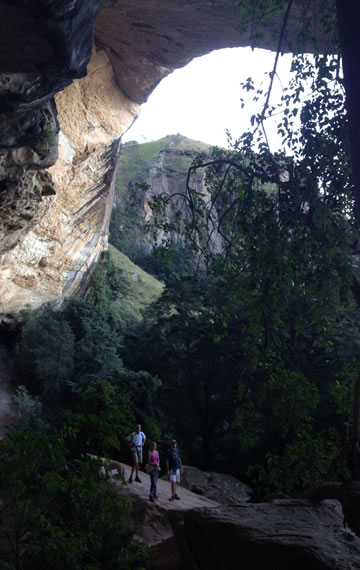
Pick up the Contour Path which goes to the right after going through the gate. This path contours below the Diamond and round Castle Rocks. Continue until you come to a fork in the path and then head up into the forest to the Grotto. Time is needed here to have lunch, and explore all the waterways, falls, tunnels, The Serpentine and The Shell. To return home turn left out of The Grotto onto the contour path. Or head down to the National Park for a collection to return to the Cavern by car.
For the more adventurous. Head out of the forest, turn left onto the Contour Path. Walk a short distance over the stream then bundu-bash up towards the cliff line and make your way left towards the Hole-in-the-Wall. Here a fault in the rocks has created the Hole in the Wall – a gap down through the rock face to the spur above. This gap is on the right and almost concealed. It is about two metres wide, and an easy scramble. For obvious reasons it is nick-named the Dassie’s Toilet. Head upwards towards Broome Hill, then Cold Hill and back via Sugar Loaf Gap.
Overnight: The Cavern
Day 4
Morning Walk – Bishops Inkaba
GRADE: D
TIME: 3 hours.
DISTANCE: 7 km.
TERRAIN: Steep climb to the top of rustlers gap. Steep descent on the return trip.
Starting from the front lawn, proceed down the driveway. Before the petrol pump, turn left behind the building and follow the path into the Fern Forest. After the bridge keep left. Follow the path and continue along the Echo Cave route. On exiting the forest keep right and proceed up the steep slope to Rustlers Gap.
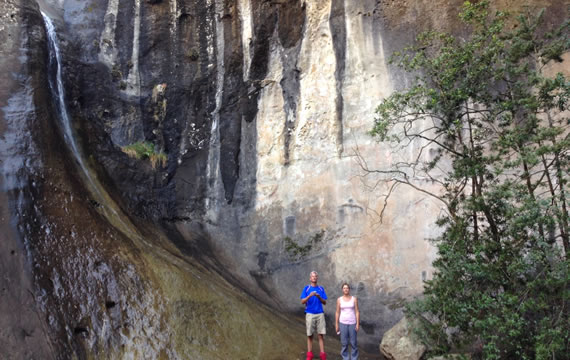
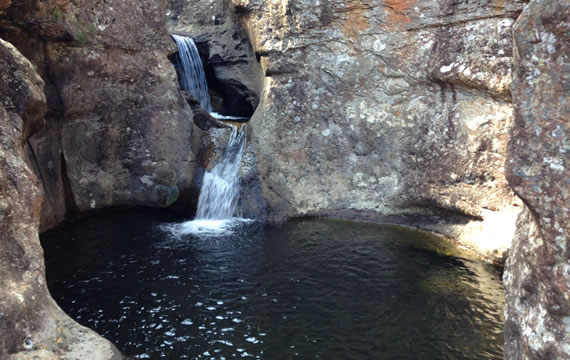
After Rustlers Gap, the path continues up the ridge towards Echo Cave and Ace of Clubs. Not far after Rustlers Gap, keep right and follow the contour into Sungubala Valley. The path follows a contour for about 1.2km to the Bishop’s Inkaba. Here you find a waterfall with little more than a trickle. At the foot of the waterfall is a gorgeous pool in which to take a dip in the Summer. This is the Bishops Inkaba (belly button).
Return along the same path. After less than a km keep left, closer to the Sungubala Valley. This path descends into the Sungubala Valley, and you join the jeep track for a short distance. After the gate, keep right and follow the path to where it joins the jeep track again. After crossing the bridge over the small stream, look for a path on the right hand side of the road. Follow the path back towards the Cavern over Bushbuck Ridge. This path enters the Fern Forest at the top, and you descend to the path you used earlier. Make your way back along this route.
Afternoon: Spa Stress Away Package – Forest Relaxation Treatment – 30 min Forest Foot Massage ~ 30 min Back Massage ~ Express Skincare
Overnight: The Cavern
Day 5
Depart after breakfast
Walking in the Great Outdoors – Package 2
Spend 5 days & sleep 4 nights in the Great Outdoors
This package includes all accommodation, meals (including packed lunches) and teas.
A guide will be provided for all hikes.
Spa treatment – as mentioned – is included.
Note: Strenuous for the average hiker
Day 1
Arrive for lunch 12H30 – 14h00
Afternoon walk – Nature Trail
GRADE: E
TIME: 2 hours round trip.
DISTANCE: 3 km.
TERRAIN: Undulating, with easy stream crossings.
The starting point is the car park behind the 70s block. There is an information board here with details of the trail, and many more information boards at points of particular interest along the way. Walk up the mowed slope, turning sharp right at the top, keeping the 70s on your right. Then down to the bottom of the mowed grass, picking up the path to the left. Cross the bridge into the Fern Forest, and then turn immediately left.
The path leads all the way through the forest. Near the cairn in the middle of the forest look for the tallest tree in Fern Forest It is a Cape ash and is at least 200 years old. The species is common here, and many seedlings spring up in the hotel grounds. These are brought in by birds feeding on the large red berries of trees in the forest. Birds are not easily seen in the forest, but the cairn is a good place to sit and wait for them. The “best” species are those that are endemic to South Africa – found only here; chorister robin-chat, Cape white-eye, bush blackcap, forest canary, Barratt’s warbler, southern boubou.
Further along the trail is the biggest cabbage tree in the Berg, and probably in all Africa. It is at least 150 years old. Branches form only after flowering, and this only happens in full sunshine. So when the tree was young, and making its first branches, this spot must have been the very edge of the forest, otherwise it would have been shaded. Forests expand and shrink naturally all the time. Close by, an elongated pit marks the spot where a large tree was felled over 100 years ago. No machinery was available so the tree had to be hand-sawn into boards on the spot. The pit was dug under the fallen trunk to allow a man to work at one end of a huge two-handled saw, while the other worker stood on top of the trunk. The sawing had to be precise, and was back-breakingly hard.
When emerging from the forest, to find the rest of the information boards, take the first path left going downhill. The path crosses a stream, re-enters the forest and leads to some half-shaded pools. This is a good spot to sit quietly and wait for three birds that are typical of clean flowing water: the Black Duck, Mountain Wagtail and Half-collared Kingfisher. A little further on is Putterill’s Weir. Cross the stream again here, and the path leads directly back to The Cavern.
Overnight: The Cavern
Day 2
Full Day – Sungubala Challenge via Juluka Pass
GRADE: C+
TIME: 8 hours
DISTANCE: 15 km.
TERRAIN: Very steep at times, with some “bundu bashing”. Go with a hotel guide because the paths are not well marked on the escarpment.
Meet on the front lawn and hike through the Fern Forest and along Bushbuck Ridge. The path then joins the Sungubala Jeep Track. Follow the Jeep Track and then past the Sungubala Camp and go onto the old jeep track above the Silent Woman. Just before the fence-line the path heads up quite steeply. Follow this higher and then contour for a short time and then up once again. There is no definite path and this section requires either a GPS or experienced guide who knows the area.
Once round the buttress of rock at the far end of Sungubala mountain one goes up once more and through the grassy slope which is Juluka Pass. This is a steep climb. Up, up and up but the shorter grasses at the higher altitude make bundu-bashing a bit easier. Once the mountain of Sungubala is summited one is rewarded with expansive views of the valley and Drakensberg peaks in the distance.
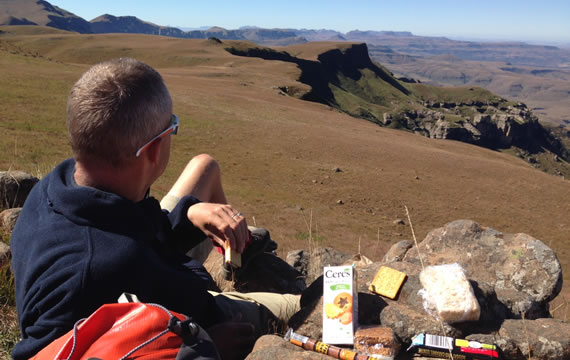
Walk along Sungubala Mountain to the left and find a lovely spot to soak up the sun over lunch.
The route then descends the Sungubala Mountain and heads behind Hlolela. Walking here is quite tough with no worn paths. Around the base of Battleship Mountain and then head for Sugar Loaf Gap. It is a quick descent through the Gap and directly back to the resort.
Overnight: The Cavern
Day 3
Full Day – Gudu Falls via Sugar Loaf Gap and home via the Mudslide or extend to the Crack
GRADE: C+
TIME: 8 hours.
DISTANCE: 18-25km return.
TERRAIN: Very steep at times and only done with a hotel guide as the paths are not well marked on the escarpment.
Hike from the Top Gate up through Sugar Loaf Gap. Part way up the Sugar Loaf itself, take a right-hand track that goes behind the peak. This leads to Cold Hill, ascending about 500 m. Follow the line of the fence and around Broome Hill. Cross the fence, and proceed down the slope of Plowman’s Kop for about 2 km, where the stream is seen on the right, nestling in the valley. Note: it is easy to make a mistake just after crossing the fence by following a strong contour path instead. Towards the end of Plowman’s Kop slopes, ease right, dropping gently into the valley, picking up the path to the lip of Gudu Falls. Swim in the pools and have lunch at the top of the falls.
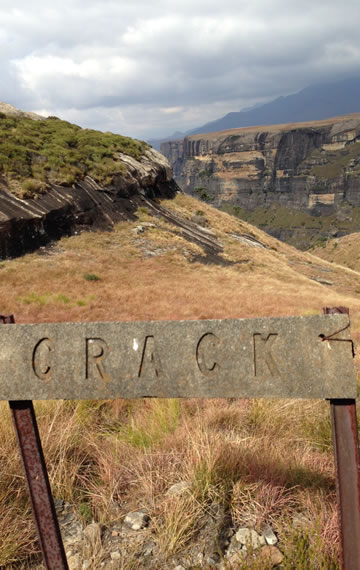
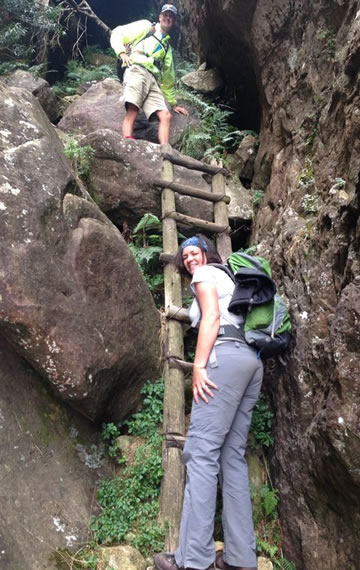
Hike back to The Cavern the same way, or descend to Royal Natal National Park for a drive back to The Cavern. There is one longer feasible alternative. Climb out of the valley on the left side (if looking out over the falls). A strong path leads to the Mudslide (aptly named in summer). If time permits a small diversion can be taken by turning off the Mudslide path near the top, and climbing, on the right of the path, onto the very end of Plowman’s Kop. Brilliant views of the Amphitheatre and Dooley await. Look at the “cracks” in the rocks on the left hand side of the kop at the very end. These must be at least 300 m deep. Back down the Mudslide, using chain ladders as necessary. Turn left along the strong contour path at the bottom. Follow this past the Grotto, around Castle Rocks, around The Diamond and over Surprise Ridge, back to The Cavern.
In winter take torch, in case darkness falls before arrival home.
Overnight: The Cavern
Day 4
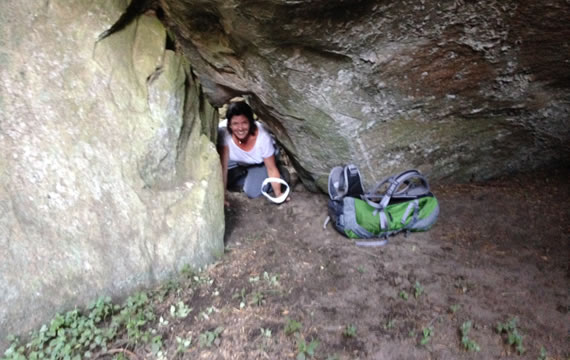
Morning walk – Cannibal Cavern & Surprise Ridge
GRADE: D
TIME: 4-5 hours.
DISTANCE: 6 km return, or 7 km round trip.
TERRAIN: Undulating with a few steep sections.
Top Gate is the starting point. Take the path right, leading past the football field. Keep left, going uphill, where the path forks. The first top dam will be on the left in front of you. The TV aerial is clearly visible on the shoulder of the next level. To pick up the path to it cross the fence just behind second top dam. From the aerial the contour path begins to rise. Look out for Ground Woodpeckers sunning on the rocks.

Many of the large boulders are also home to isolated large trees, and even miniature forests. A bare rock may seem an austere home, but has several advantages. First it is a refuge from fire, and nearly all “rock” trees are otherwise found only in the forest where fire rarely penetrates. Second, a rock acts as a heat store, soaking up sunshine by day, and slowly releasing warmth at night, keeping frost at bay. Third, all the rain that falls on it is channelled to one or a few spots – exactly where the trees are rooted. And there is plenty of soil for most of these rocks are not outcrops, but boulders that have rolled down from higher up, and are sitting on a full soil profile. How did the trees get there? Any passing bird perches on the highest available point. In its droppings will be seeds from fruits eaten at a previous pit-stop. The seed will automatically be washed into the best germination spot by the next rain. Once it has matured and begins fruiting it becomes an added attraction for yet more birds to visit.
After walking alongside a gate, go through a gate on the right. The path goes through some small forest patches, look out for the rare and endemic berg bamboo. Right beside the path, and quite close to the cave, is a nice specimen (and the only one in the vicinity) of Protea subvestita.
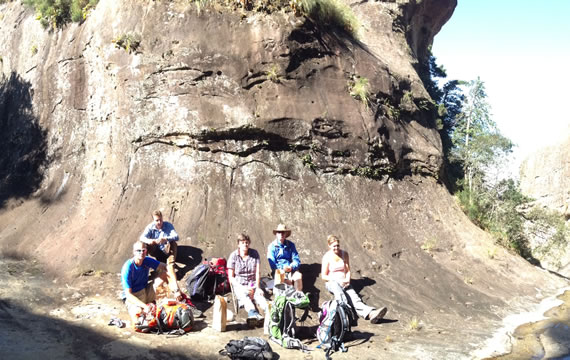
Cannibal Cavern was home to Bushmen in earlier times, and two very faded paintings still exist. Since then it housed real cannibals early in the nineteenth century. During King Shaka’s wars of expansion, refugees from losing tribes fled south and west, often dispossessing even weaker tribes on the way. Cannibal Cavern became the last refuge, where a few survivors could not be persecuted further. They dared not reveal their hiding place, so there were hard times with little food. When starvation set in the only choice was to eat their own dead. This led to their tribal name of Amazizi – amazimo is the Zulu word for cannibal. When the troubles finally ended, they moved down to the flat lands below to resume normal life. Many people working at The Cavern today are seventh generation descendants of the original cannibals.
Since cannibal times the cave has been used to shelter up to 500 cattle, and a stone shepherd’s dwelling has been built near the cave entrance. A permanent trickle of water at the back of the cave made it a tenable home, and provides a welcome drink for walkers today.
Return to the hotel by the same route, or take the longer circular route going via Surprise Ridge.
Afternoon: Spa Stress Away Package – Forest Relaxation Treatment – 30 min Forest Foot Massage ~ 30 min Back Massage ~ Express Skincare
Overnight: The Cavern
Day 5
Depart after breakfast
Hello, please send me your prices 🙂
Many thanks, Rinske.
We will send further details and prices on email.
Best wishes,
Megan
hi, about the prize of the hike, that prize tag there, is per person or per unit( group of people) , I kinda lost there..
Hi Ishmael
Thanks for the message and apologies for the delay. The rate will vary depending on the size of the group.
We would offer accommodation at the best available rate, and if it is in the low season period, we are able to offer a special.
What time of year were you thinking, how many hiking days would you like? We can tailor the package to suit your group’s needs.
Best wishes,
Megan
Good day,
could you please send me the prices for these hiking packages please.
Also if we decide to take the pensioners special will that be 5 days Sunday- Friday?
Many thanks, Alicia. Yes, we would offer the best available rate for accommodation.
The private day hikes are R800 per day and half-day private hikes R550 per day, and this is the guiding fee. We supply packed lunches for the day walks.
The suggested program of hikes can be tweaked to suit your needs.
And if a spa treatment is booked, we would offer a 10% discount on the price.
With best wishes,
Megan
price for hiking package
Hi Wendy
We have popped an email off to you.
We will work out costs depending on the number of days you are interested in booking and the time of year you have in mind for travelling. Special rates may apply.
With best wishes,
Megan
Hi!
can you please send me prices on the easiest hiking package?
Thanks so much!
Juanita
Hi Juanita
Thanks for the enquiry. If you are looking at doing relatively easy walks then it might be best to join the daily advertised hikes. We have one longer hike (3 hours, fairly strenuous) or a shorter walk (approx 2 hours, more gradual) each morning. We do also advertise a day hike to the Tugela Gorge on request. This is a lovely day outing but not too strenuous, following a gradual meander alongside the Tugela River.
If you are to join the daily hikes then there is no additional charge for a private guide but if you would prefer to have your own guide on shorter hikes then a fee would apply.
If you pop an email through to our Reservations, they will be able to advise on the best available rates; Contact Us
Warm wishes,
Megan
Good morning,
I am interested in your Hiking Packages.
Can you kindly provide me with pricing as well as more information regarding when this is available for booking.
Many thanks, Ingrid.
This proposed itinerary can be tweaked to suit your individual requirements.
The outline is 2 half-day hikes, 2 full-day hikes and a spa treatment on the last day.
We have sent rates through on email.
Warm wishes,
Megan